
I posted a card yesterday that featured the color green in preparation of St. Patrick’s Day. Here’s another green card that’s more focused on the holiday. As I was working on this card, I ended up changing it as I went and I like how it turned out.

I didn’t set out to make a shaker card, but that’s what it ended up being. I was inspired by the layout of a card by Renee Daley here: https://stampknowhow.com/2018/03/14/st-paddys-day-card-challenges/. I didn’t have gold glimmer paper, but I did have gold foil paper, and I think it worked just as well. I also moved the sentiment to make room for the pot of gold. It’s a strange story of how I found a pot of gold in my own stamp supplies.
I was originally looking for a die that might work as a similar shape as the one from the original card, and happened across the Everyday Jars framelits. I’m not exactly sure what the piece in the center is supposed to be, but it seemed to work as a pot.


So, I guess that’s how it’s supposed to act as a lid, but I’ve never seen a lid like that on a jar. Oh, well. Back to my card.

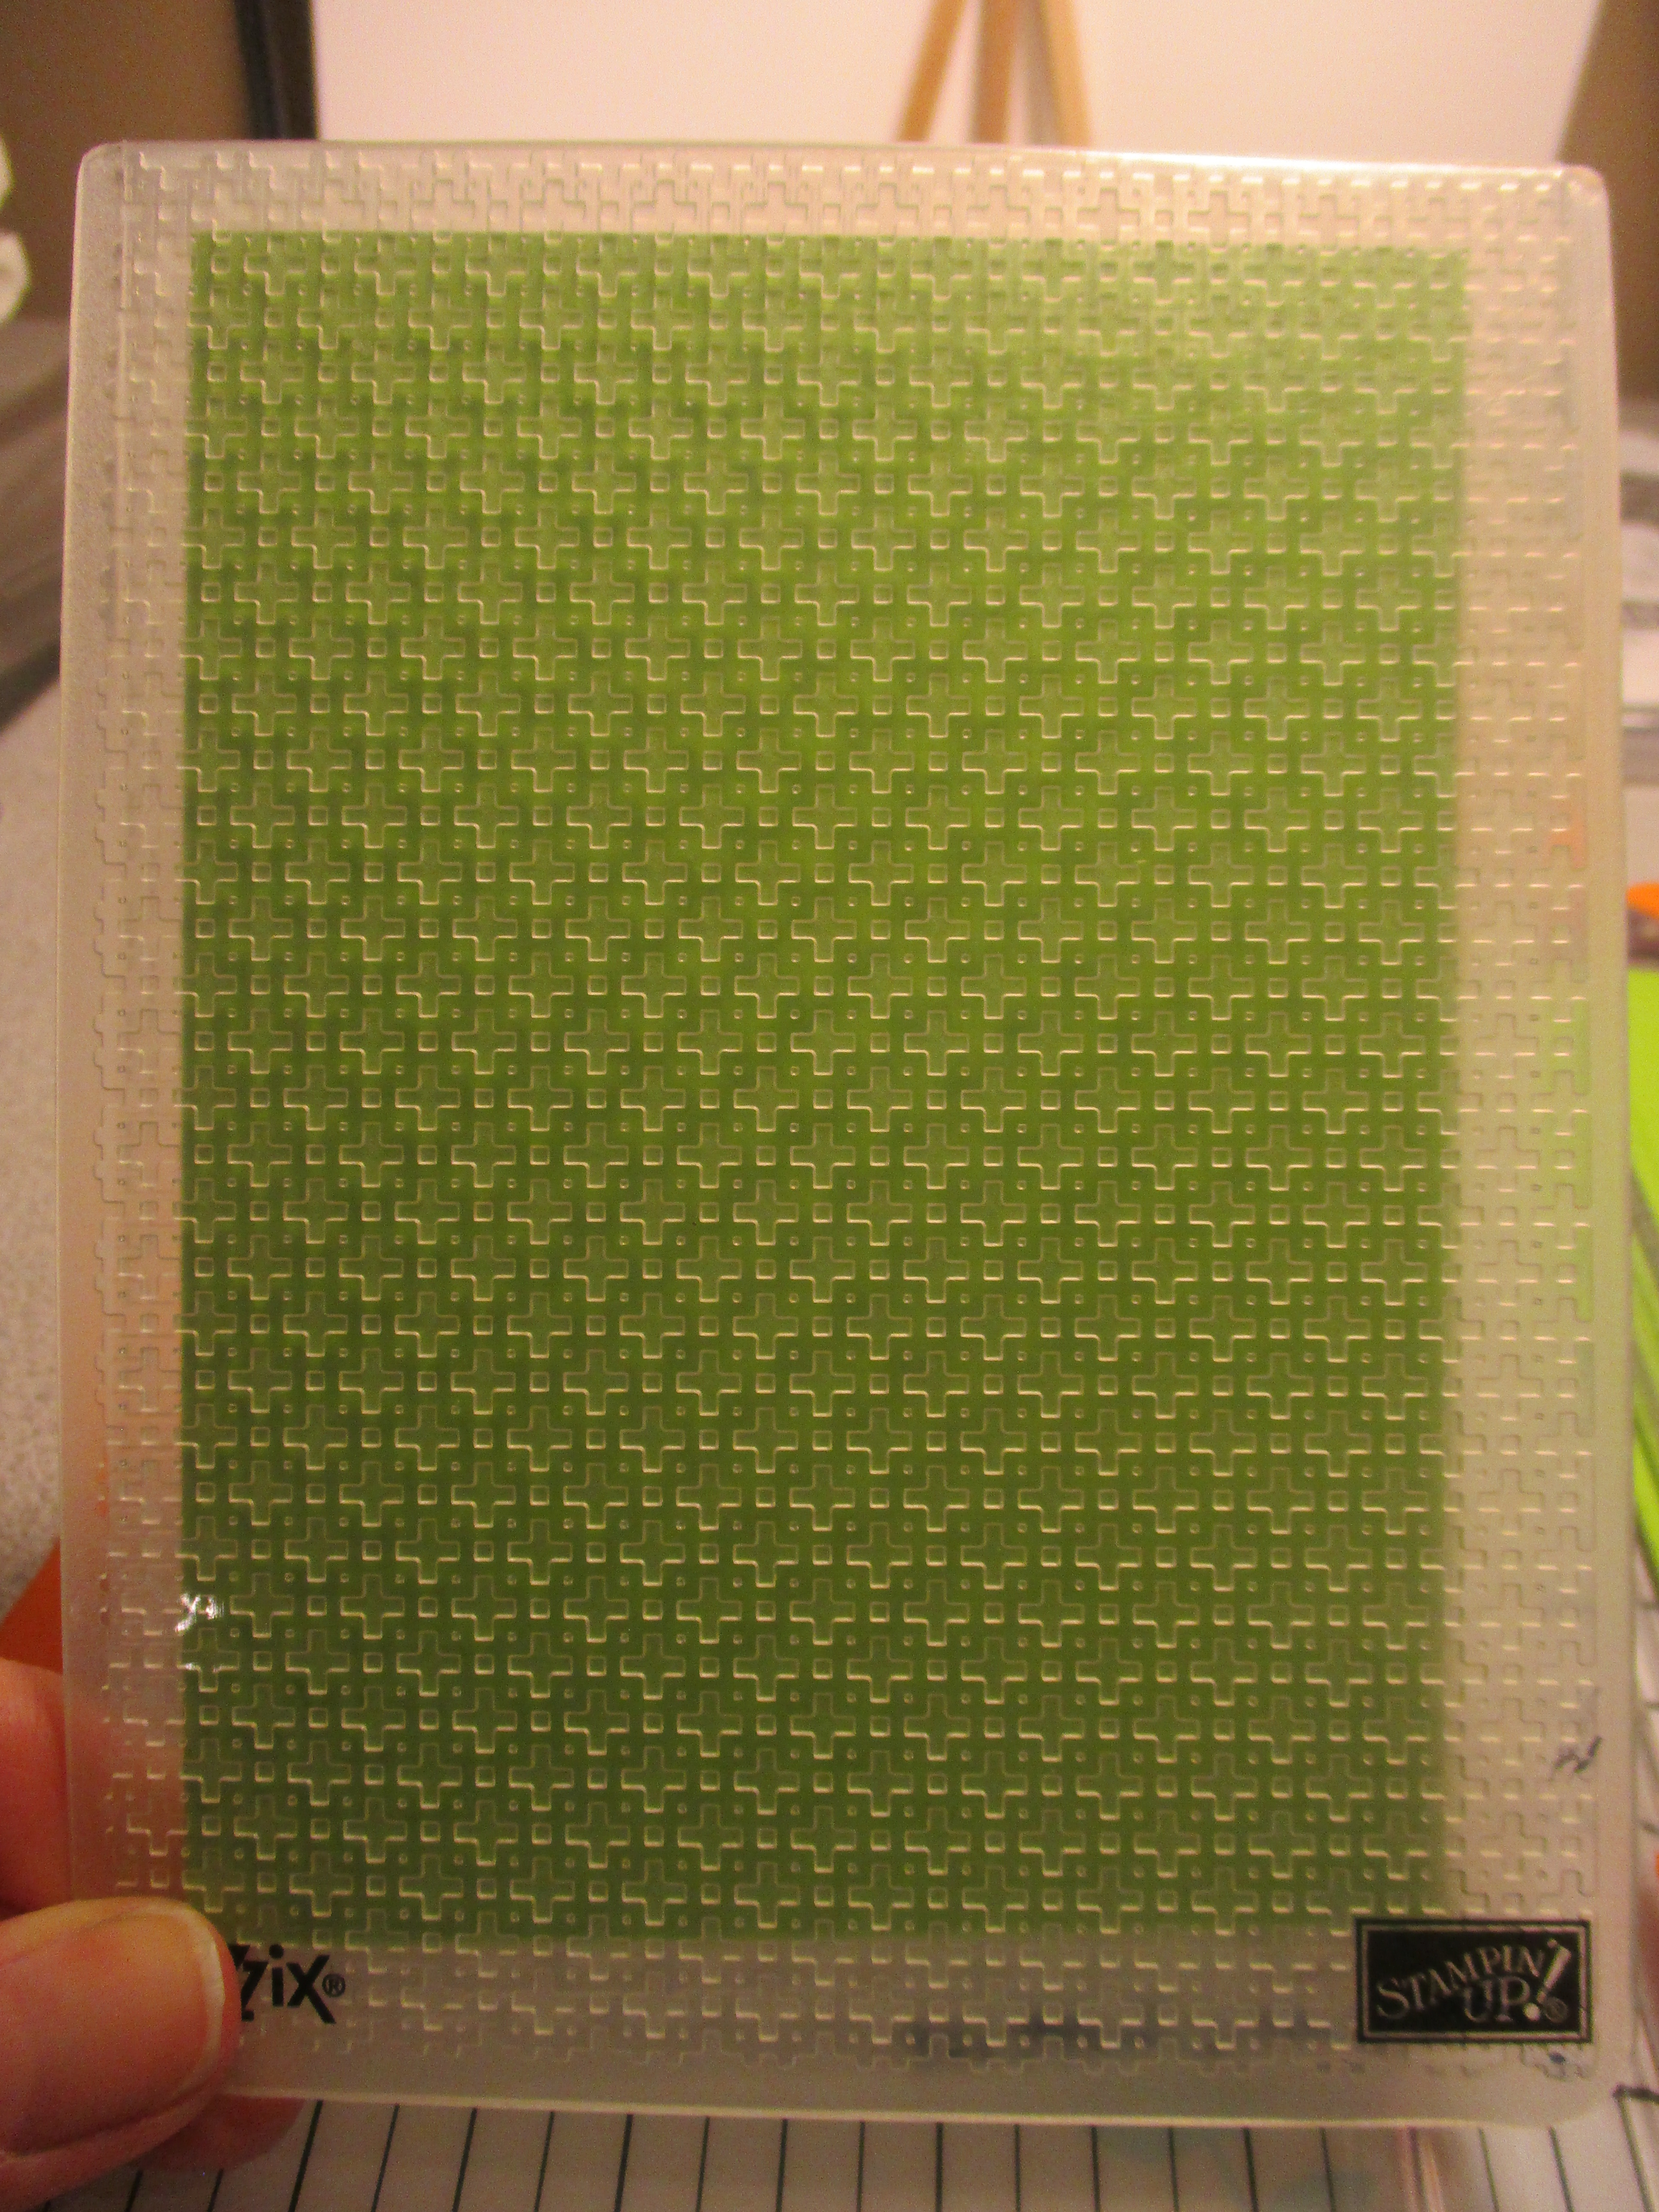
I wanted something like the beautiful embossing folder she had used, but the only thing I had that was anywhere near that intricate was a retired embossing folder called Square Lattice. It’s an oldie, but a goodie. I ran it through the Big Shot as well as a piece from the Petals and More framelits and started to assemble my card.


As I was looking at my little black pot, I thought about how it would be cute as a shaker and decided to try it. I attached a window sheet, some dimensionals, then realized I had a bit of a problem.


Can you see how the dimensionals stick out from behind the edges of the pot? I wasn’t thrilled with that, but I kept pressing forward, sure that I’d find a solution. You won’t believe what I did to fix it.
I started to assemble my card with the pieces that I had.

You can see the little sequins below the card there. They came from the sequin trim I had from a while back. I believe the size currently available is a bit smaller than this, but it’s a similar design. Each sequin is attached by a string, but is slit halfway through for easy removal. The sentiment was from another old stamp set called Teeny Tiny Wishes. I stamped it on a small piece of paper and attached it to the card front using two dimensionals.
So, how did I fix the problem of the dimensionals sticking out? I took the scrap of paper out of which I had cut the pot, and cut around the hole. It was easy to follow and it gave just enough paper to adhere to and cover the dimensionals that were showing. Here’s the before and after. What do you think? Did it work?


I know you can still see the ones in the middle, but there wasn’t anything I could do about that. Instead of thinking outside the box, I guess you could say I was thinking outside the pot! I hope this inspires you to do some creative thinking the next time you have a situation with one of your cards. You can do it!


https://www.stampinup.com/ecweb/search/card%20stock?dbwsdemoid=2208259

